Drywall is made as sturdy as possible. Still, it does get damaged and breaks over time if it is treated roughly. There are several steps that can be taken to keep drywall in the best possible shape, but once it is damaged, there is nothing to do but fix it.
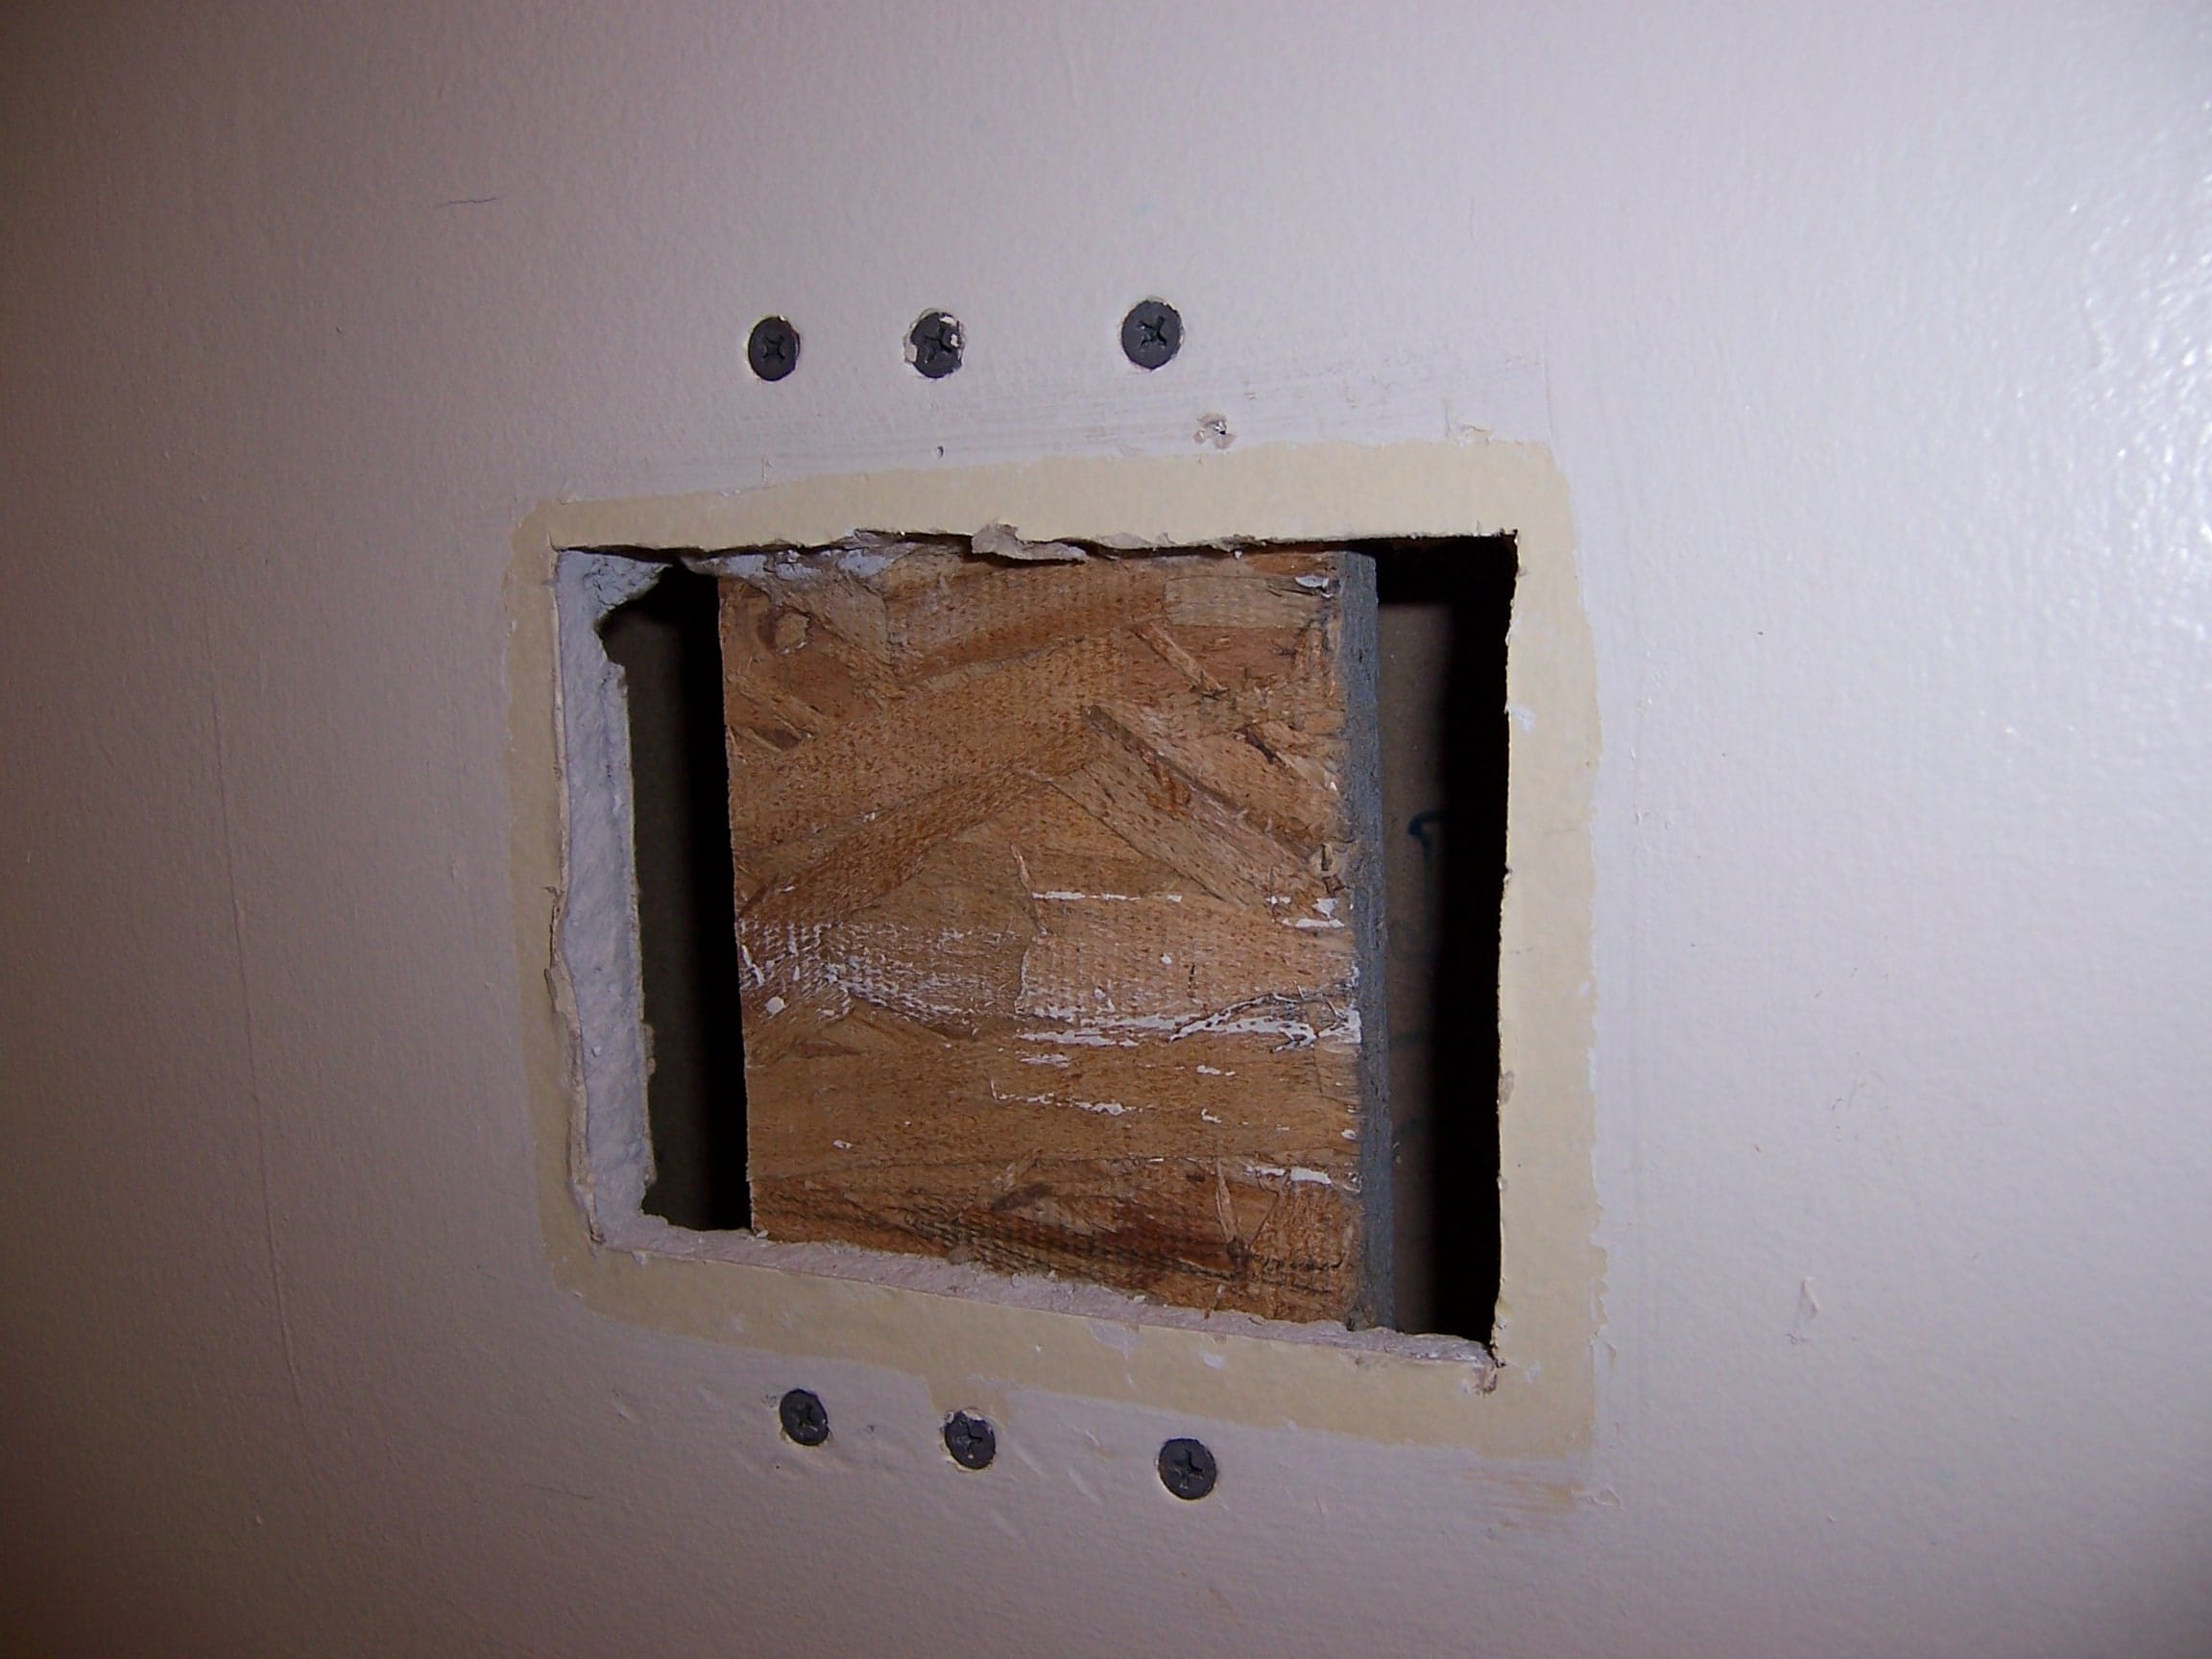
There exists a proven method for effectively repairing damaged drywall. Because drywall is thin enough to punch through and delicate enough to crumble on the edges, there can be quite a few ways to damage the material.
From small nail holes to giant cracks, it can be repaired, blended, and patched seamlessly into the rest of your wall. Having basic knowledge of the skill and labor it takes to repair drywall will give you more respect for the process and an understanding of why it takes time to get perfect.
There are a few steps that are almost always used to repair drywall. Understanding these steps and understanding what your repairman will be doing to your walls is crucial for ensuring peace of mind throughout the process. Here is a comprehensive explanation of how to repair damaged drywall.
Knowing the complete drywall repair process used in your area will allow you to feel comfortable in the work you are paying for. We employ proven techniques to ensure the smoothest wall and paint finish possible. Here are the basic steps that we use for our drywall repair process here in Dallas.